Toning – Cyanotype
Cyanotype –
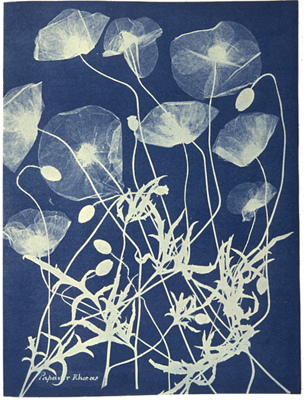
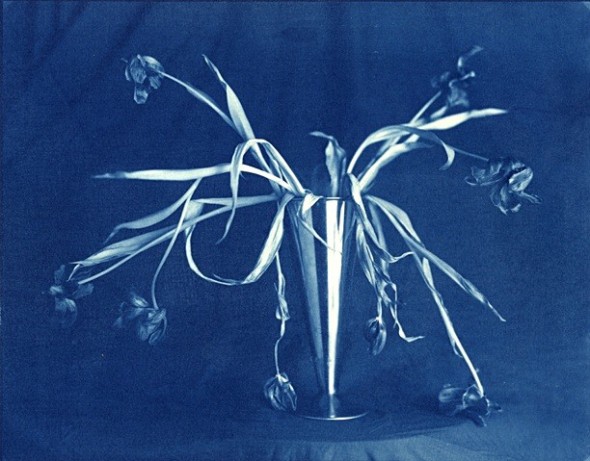
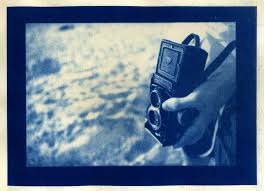
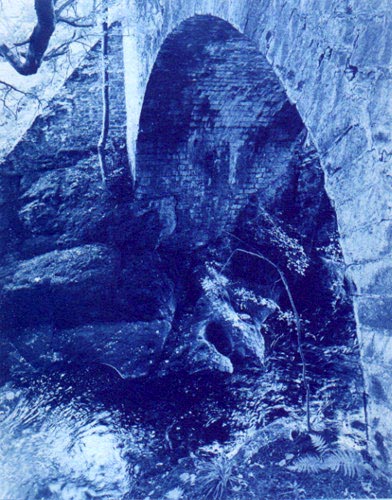
TRADITIONAL PROCESS – Unlike photographs set in silver, like in black and white photography, cyanotypes are using a solution of iron compounds.The photograph can be taken with a camera, like a digital camera, and the resulting photo turned into a negative that can be used to make a cyanotype. The basic cyanotype recipe has not changed very much since its invention in 1842.
Cyanotype is a photographic printing process that gives a cyan-blue print. The process was popular in engineering circles well into the 20th century. The simple and low-cost process enabled them to produce large-scale copies of their work, referred to as blueprints. Two chemicals are used in the process:
Blue Toner –

Blue Toner (BT20) used to obtain a dark blue tone, can add density to the image. If a final toned image of “normal” density is required, the image of the original print for toning should be sufficiently lighter to compensate for the gain in density during the toning process.
**Have prints prepared for toning.
STEP 1: Mix Stock Solutions The kit consists of 3 solutions which should be mixed according to instructions to achieve the desired working solution. The whole procedure should be done under normal room or daylight conditions.
STEP 2: TONING Ensure that the print has been well fixed and very well washed before toning. Pour working solution into a processing tray. Place the print in the toning solution and agitate gently until the depth of tone is visually reached (a few minutes).
STEP 4: WASHING/DRYING Remove and wash well for 3 minutes or until the yellow stain has come out of the whites. A salt bath can be used to speed the removal of the yellow stain from the highlights but wash well after. Dry the print naturally.
Anna Atkins – first female photographer, widely used cyanotype methods: http://www.vam.ac.uk/content/articles/c/curtis-moffat-working-methods/
The Solar Print – very similar to the cyanotype process, however the paper is commercially made so ready to use immediately without risk of contact with chemicals. How to use solar paper:
1. Solar paper is sensitive to white light. You can handle it for brief periods in normal lighting conditions, but prolonged exposure will affect the paper. Limit your prep time to a few minutes, max.
2. Place your solar paper blue side up in a contact frame. Arrange objects on top of the paper, similarly to how you would with a photogram. Close the contact frame to squish the objects onto the blue solar paper.
3. Cover your contact frame which contains your solar paper with a black paper bag. Travel outside and find a location which has direct sunlight. Place your contact frame on a stable surface.
4. Remove the black bag from your contact frame. Allow the solar paper to be exposed to sunlight for 5-7 minutes. You will see the paper begin to turn from blue to white.
5. When exposure is complete, travel back into the classroom. There will be development trays full of fresh water. Remove objects from the solar paper and place the solar paper in the water baths. You will see your paper begin to “develop”. Your objects will be represented by white areas and your blues will intensify where the sunlight hit.
6. Allow your solar paper to soak in water for 5 minutes or long. Remove gently as the paper is fragile when wet. Lay flat to dry.
Step by step guides can be found here for traditional cyanotype, which is very similar to the process used in your solar print: (http://www.alternativephotography.com/wp/processes/cyanotype/cyanotype-classic-process), and the process is further illustrated in the video below: